Robotic Telescopes and the Rosette Nebula
Nine years ago I bought my first “real” telescope. My experience the year prior with a department store telescope was horrible. Department store telescopes aren’t telescopes. They’re tubes with pretty pictures on their boxes. I knew from looking through observatories and other people’s telescopes that “real” telescopes were amazing.
So, nine years ago I plopped down what felt like a huge amount of money to try out a new hobby and bought a Celestron 8″ Schmidt-Cassegrain reflector telescope on Celestron Advanced Series computerized “go-to” mount. Almost immediately, my backyard amateur astronomy turned into backyard astrophotography.
I had tons to learn about astrophotography, so I tackled each challenge I found. Before long, I’d ditched my off-axis guider and eyepiece projection camera mount. The off-axis guider had way too small of a field of view when trying to find a guide star with my Meade LPI. I moved on to a piggyback Celestron 80ED refractor I used as a guidescope. After my first prime focus shot through that refractor with a DSLR camera, I was hooked on refractors. My 8″ Schmidt-Cassegrain became my guidescope.
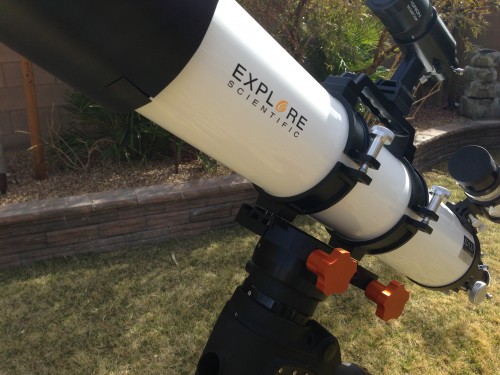
In search of better photos and easier setup, I later upgraded to an Orion Starshoot Autoguider with an Orion Mini Guidescope. I also sold my original telescope & mount and bought a 5″ Explore Scientific apochromatic refractor along with a much bigger and more stable Celestron CGEM telescope mount. I then ditched my third DSLR in favor of a purpose built astronomy camera, an SBIG STF-8300. The quest goes on.
I wish someone had just told me, “do it right the first time and you’ll save tons of money and frustration in the long run.” My current setup takes great photos. The Explore Scientific refractor, when coupled with a Hotech field flattener and the SBIG camera, takes photos I really love. The mount is beefy and accurate enough that I rarely lose an image because of the mount or any other setup issues. My biggest problem now is time.
Time is all we have, right? Well, time is something that’s rare for many of us. I work a full time day job and run a software company as my second full time job. My wife & I also have amazing 15 month old twins that we try to spend every waking second with. Spare time is something I don’t have a lot of.
I found a way to cheat time. There are several companies that rent time on their telescopes. These companies let you log into a telescope that’s permanently mounted on a dark mountain top in the middle of nowhere. You can pick from a variety of telescopes to match what you’re hoping to photograph. You can then task the telescopes take photos of whatever you’d like. You can watch the telescope’s data real time and see your images being taken. Cloud conditions, seeing, temperature, wind and more are at your fingertips to guide your decisions. All you have to do is choose your scope, choose your target, and decide on the length and number of exposures.
At first, I felt dirty – like I was getting away with cheating on a test in school. Planning trips to dark sky sites, setting up camp, fighting the weather, and staying awake all night have become the requisites to getting good astronomy photos for me. However, skipping all those steps and going straight to “take a photo of this” is still very rewarding.
I signed up for a free demo membership at iTelescope.net and paid $5 for the “Demo Upgrade” membership. That gave me 70 “points” of imaging on my choice of about half of their scopes. For the scope I chose and days I imaged, those 70 points added up to almost 2 hours of imaging time.
I took a few 10 minute exposures of the Flame and Horsehead nebulae. Some clouds rolled in on my second round of images and stopped my progress there. With the moon moving closer towards Orion and the Horsehead Nebula each night, I moved to a great February target further away from the moon, the Rosette Nebula.
I shot a total of 7 images of the Rosette Nebula each 10 minutes long. Except for a satellite flying through one of the shots, all 7 were perfect. Even with the satellite, I was able to use all 7 frames. After downloading the files from their ftp server and crunching the data, here’s the result:
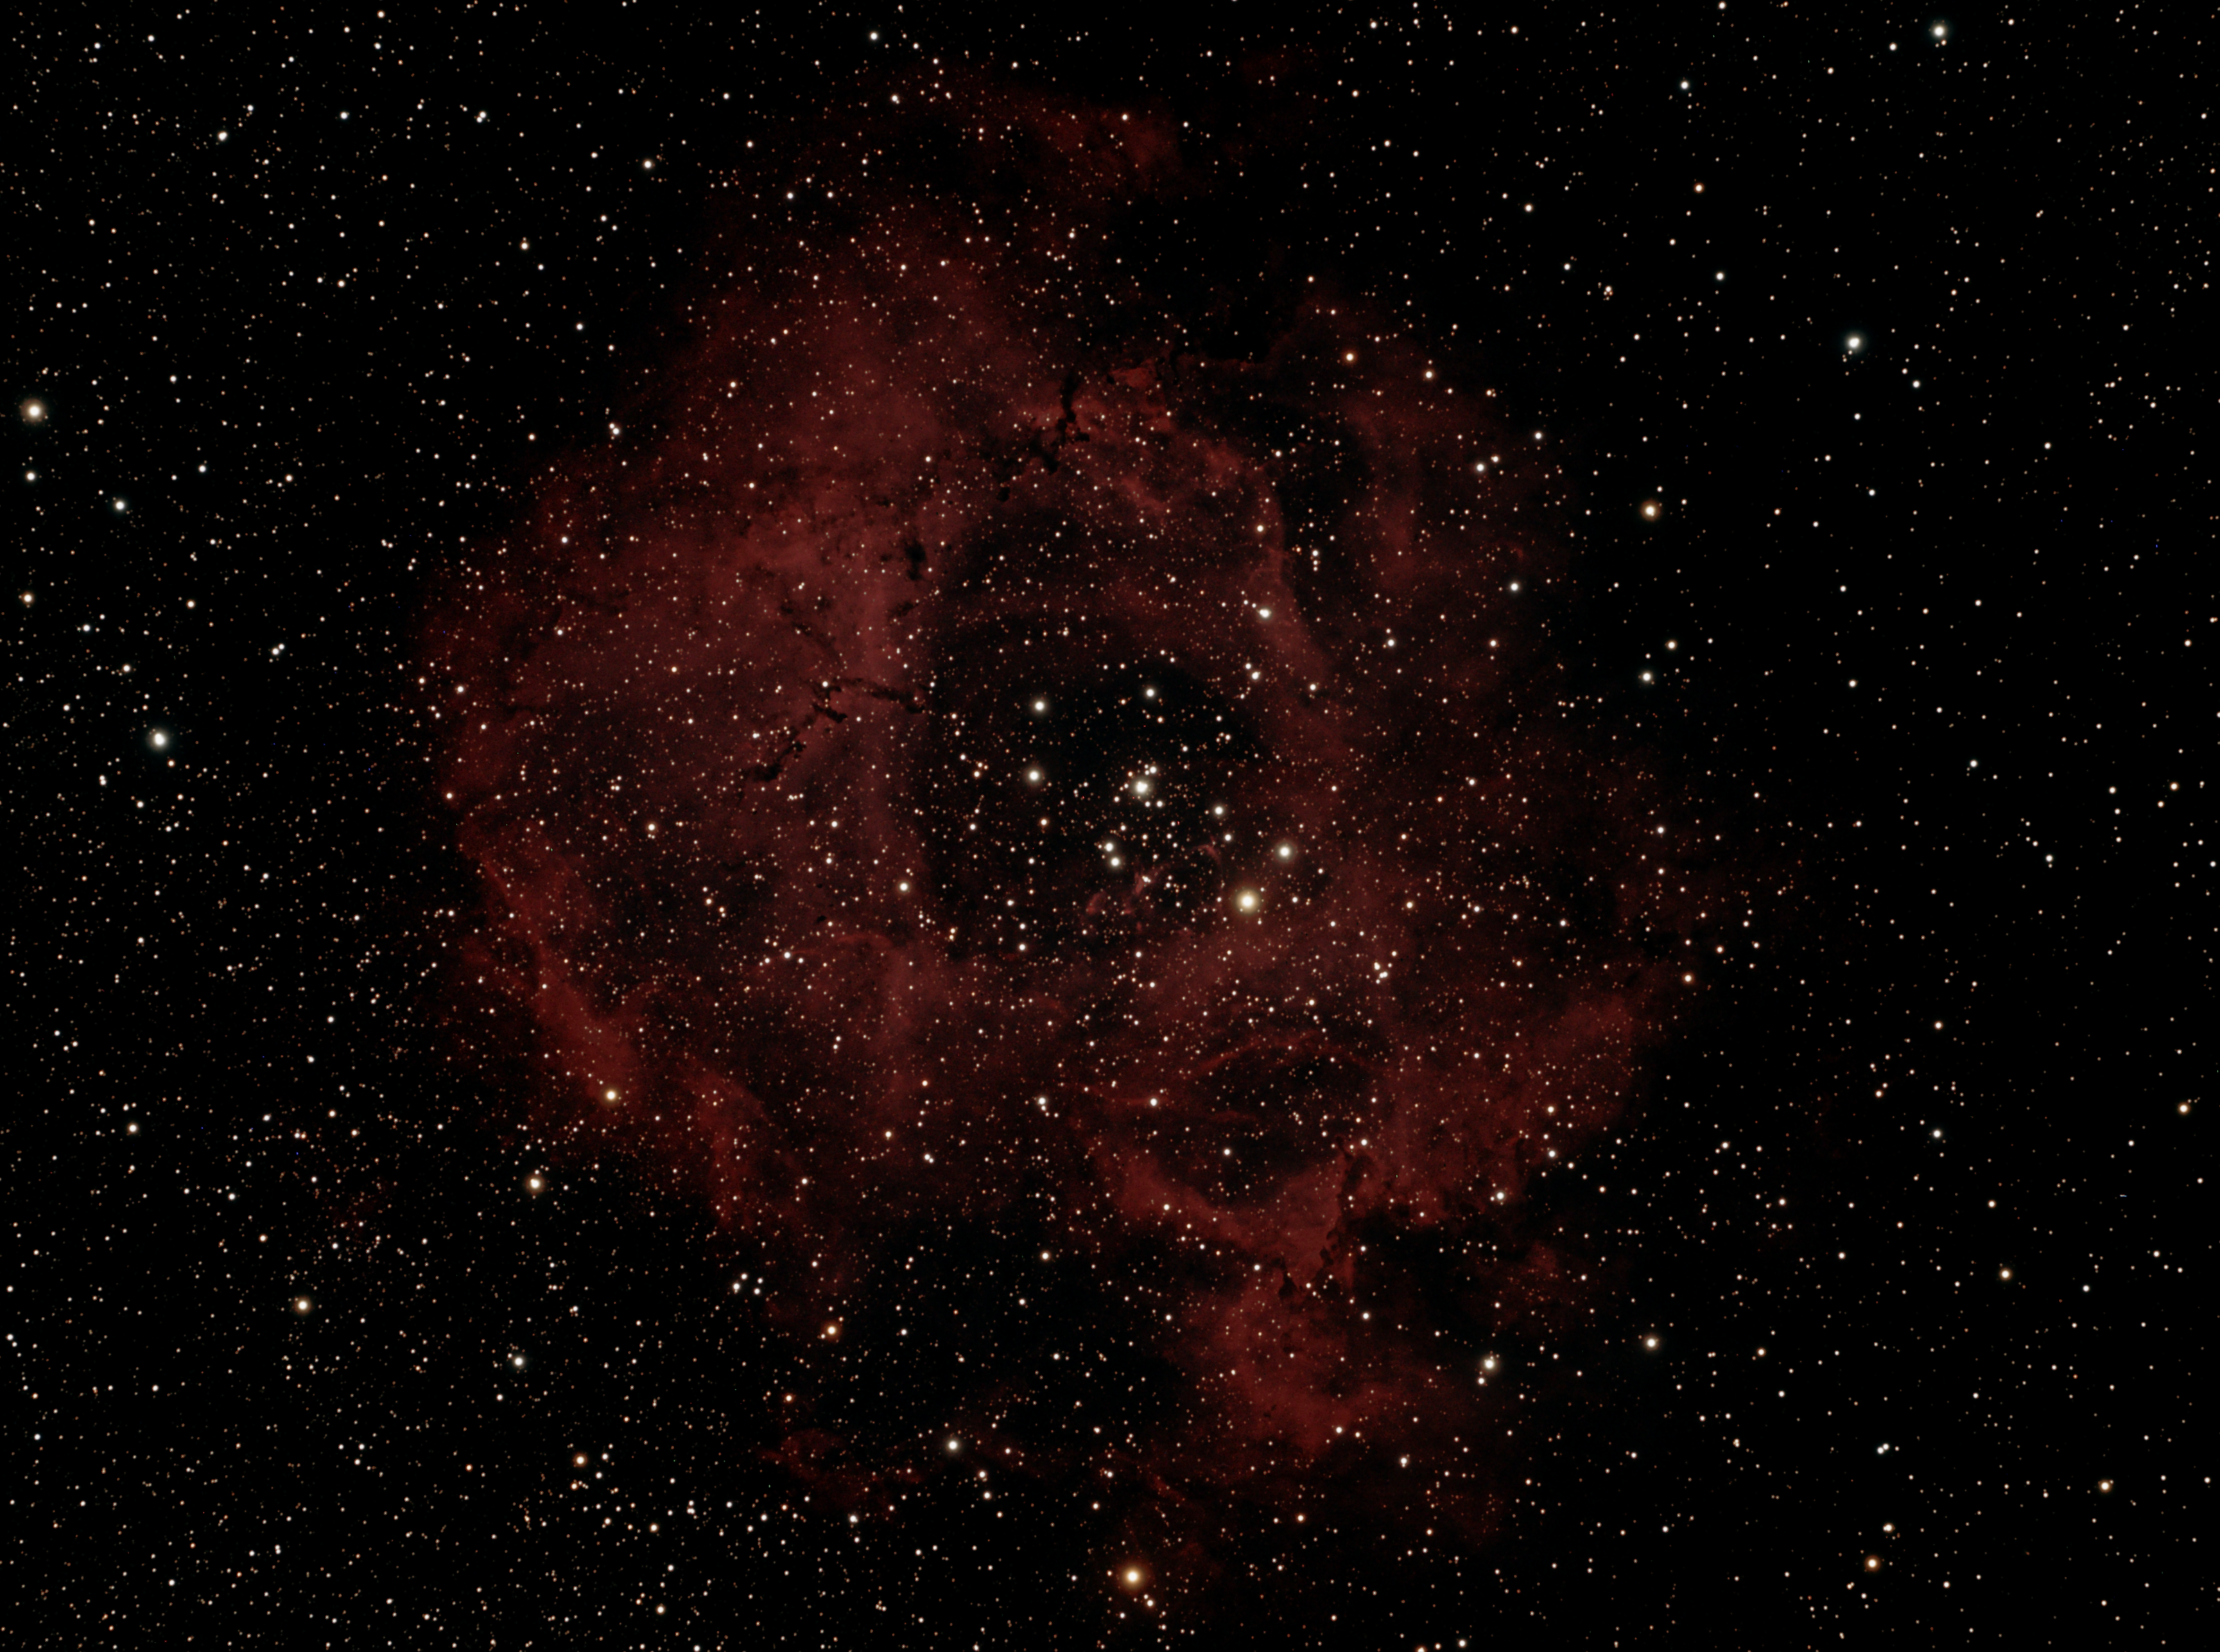
Scope: Takahashi FSQ-106 refractor
Mount: Paramount ME
Camera: SBIG ST-8300C
7x 10 minute exposures
Telescope 20, iTelescope.net, New Mexico Skies, Mayhill, NM
Processed in Nebulosity and Photoshop
Whether you’re just getting into astronomy or a seasoned astrophotographer, signing up for a demo account at iTelescope.net is something you really should do. Cough up the extra 5 bucks so you can test drive more scopes and get more time. They have tutorial videos to get you started. If you’ve used a go-to telescope before, you can probably just dive right in and start imaging. If you’re new to the hobby (obsession), sampling a few scopes can really help you learn what you want – and ultimately save you time and money.
If you’re completely new to astronomy or astrophotography, it’s worth taking some extra time before taking any long exposure shots to understand some basics about the telescopes and cameras. If you have a Windows PC, I recommend downloading CCDCalc and CCDCalc_Images_V3 to help visualize how big different deep space objects will be in images taken from the different scopes and cameras. There are lots of great books on astrophotography. I recommend “The 100 Best Astrophotography Targets” to help you choose some fun things to image. When it’s time to turn your raw images into final “wow” photos, I recommend picking up Nebulosity to do the heavy lifting. There are free alternatives to Nebulosity, but it’s the best bang for your buck that I’ve found.
If you want to keep imaging after you use all the points in your iTelescope.net demo, you have to upgrade one of their membership plans. Considering the days of work and hundreds of dollars I spend on each dark sky camping trip I do with my telescopes, their plan rates are actually exceptionally reasonable. Now I just to have decide which membership to sign up for.
Your turn. Go take some photos!

- M42 - The Orion Nebula After My OnStep & Pier Upgrade March 4, 2024
- OnStepX, Hypertune & Pier Upgrade for the Celestron CGEM Telescope Mount January 20, 2024
- M31 - The Andromeda Galaxy August 15, 2020
- M82 Supernova SN2014J January 25, 2014
- Messier 51 - The Whirlpool Galaxy Under a Full Moon April 27, 2013