Explore Scientific ED127 Robofocus Installation – Part 2
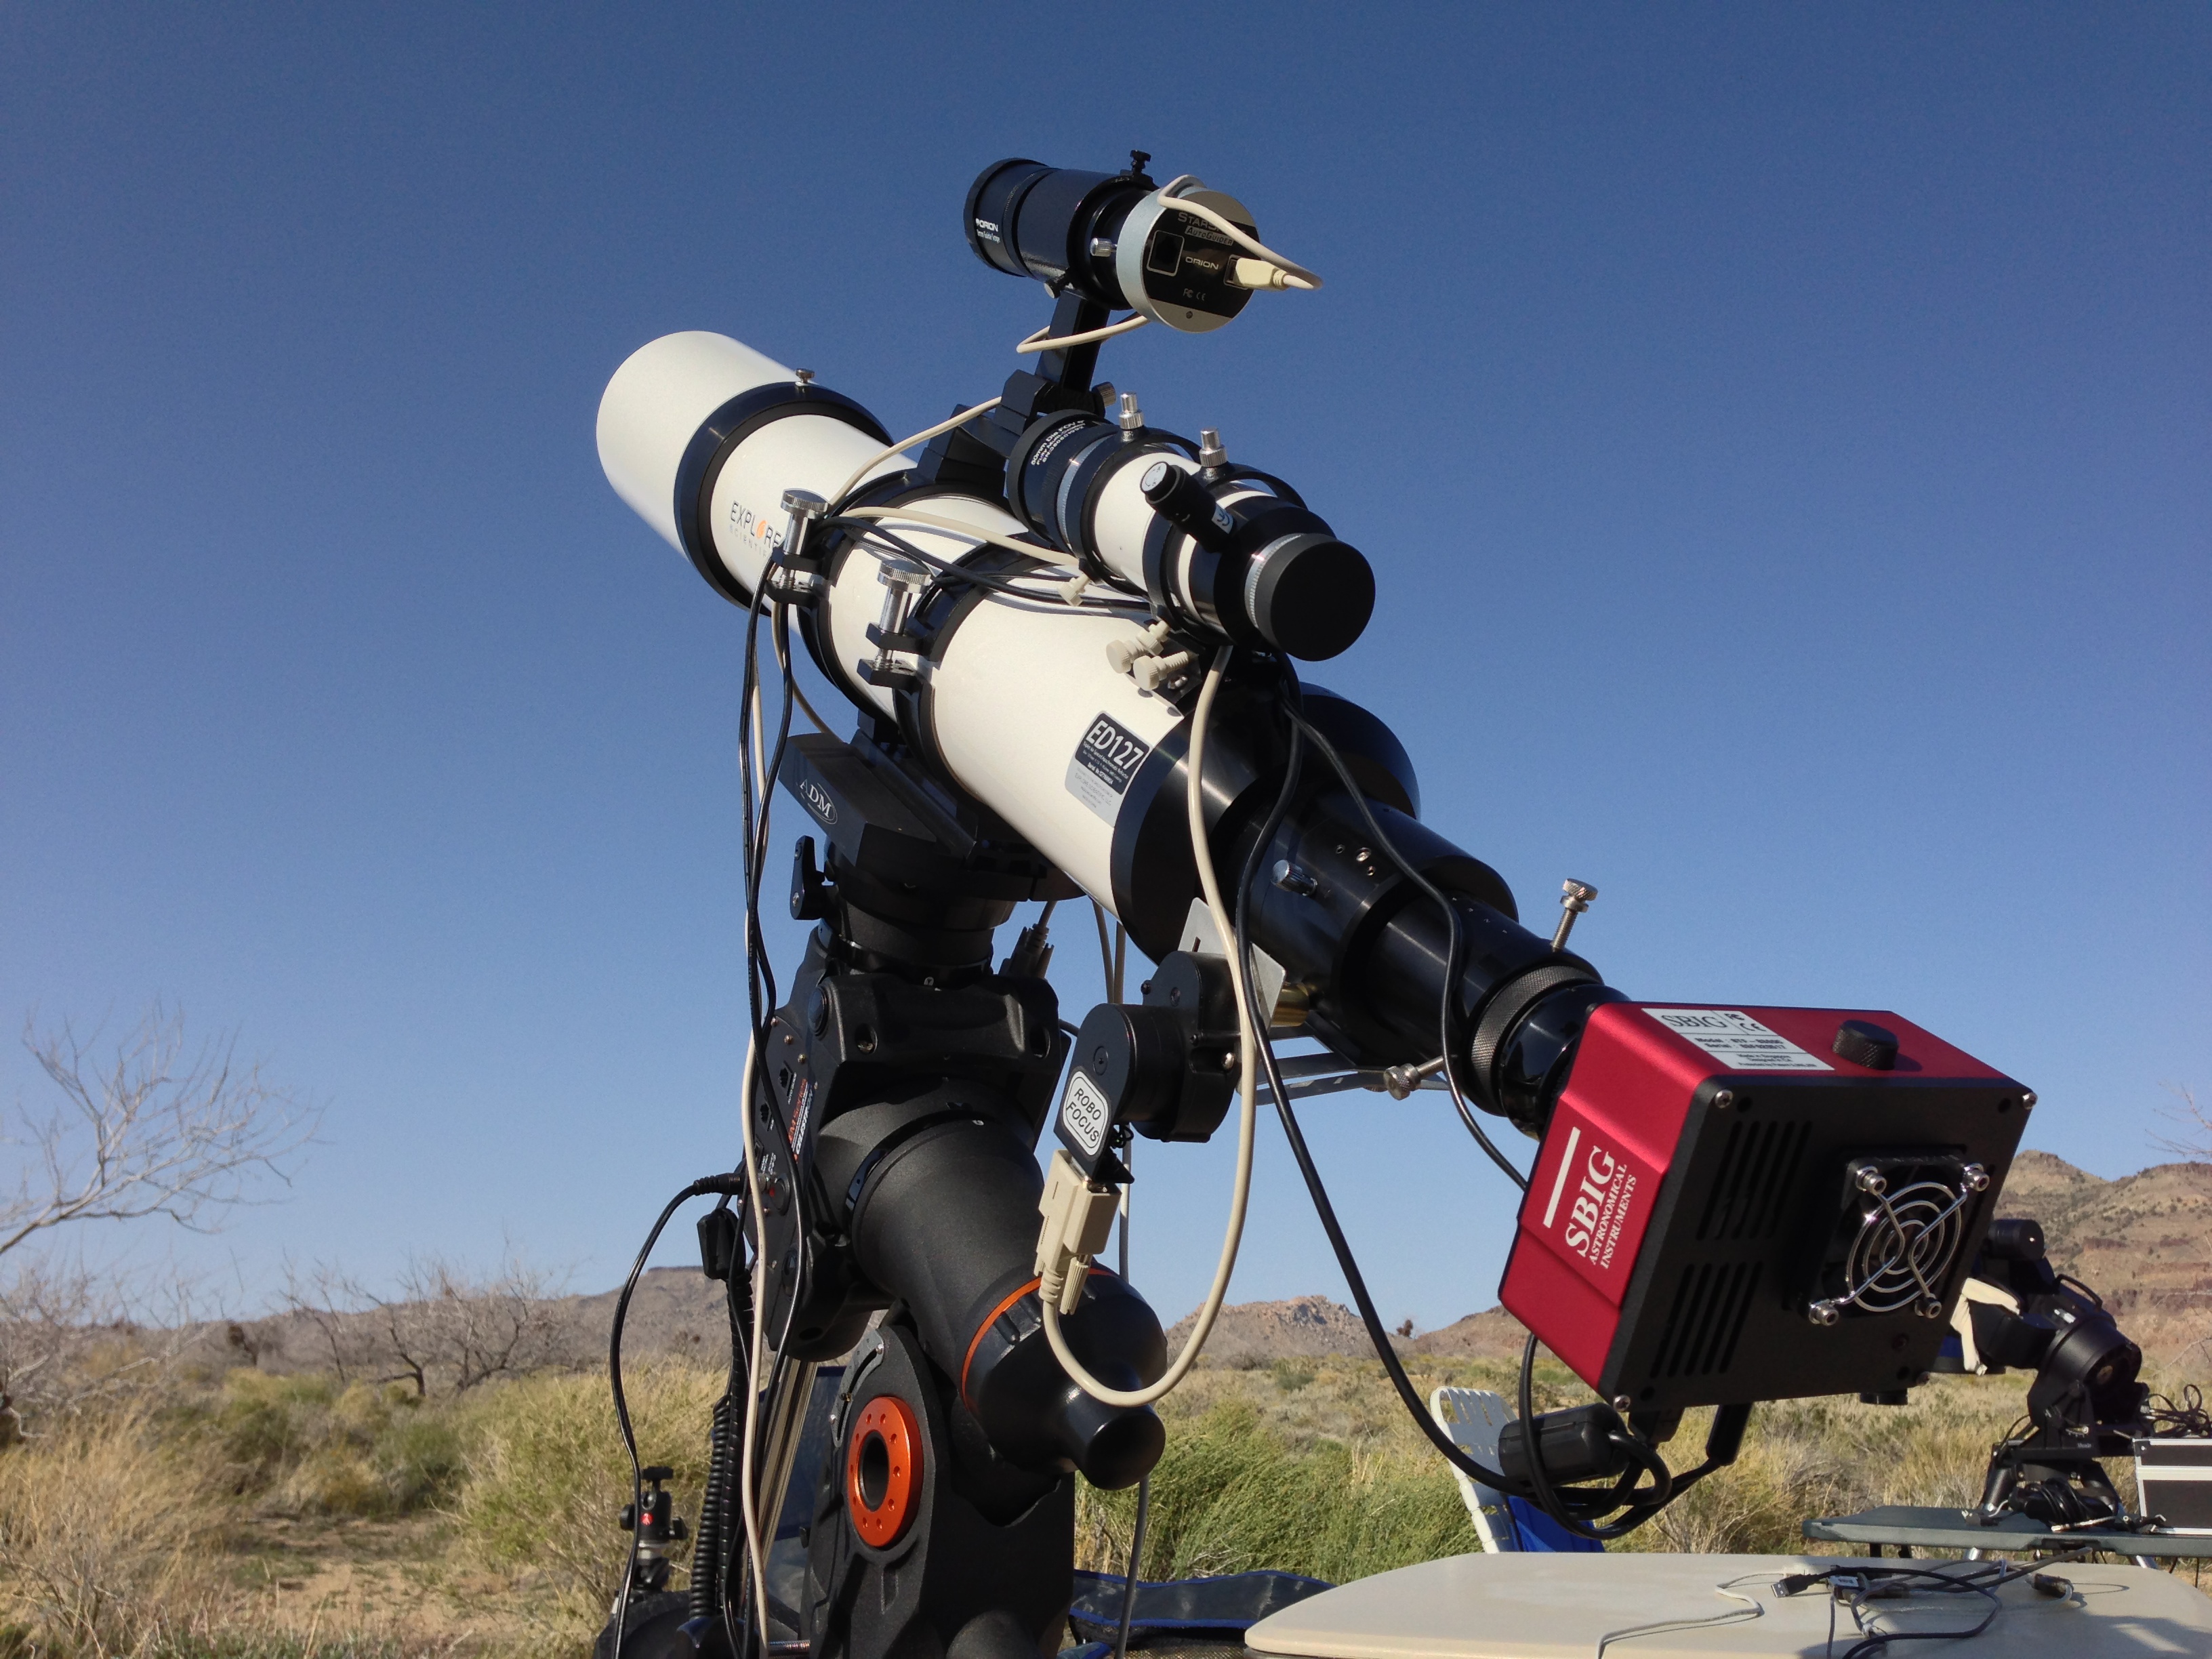
In my last post, Explore Scientific ED127 Robofocus Installation – Part 1, I talked about how I modified (bent) the attachment bracket to align the Robofocus properly with the telescope’s focus knob shaft. I also talked about a few possible options for attaching the bracket to the telescope’s focuser.
After some more research online, I decided to try attaching the Robofocus mounting bracket to the telescope using 3M Command brand double sided tape. I was initially concerned that using double sided tape might allow too much free play in the Robofocus and create unwanted backlash. As it turns out, using the 3M Command brand double sided tape worked great for attaching the Robofocus bracket to the bottom of the focuser. By default, the Robofocus control program has built in backlash control that makes the focuser always approach a resting position from the same direction. I had to reverse the default direction for this setup, but that just required a quick 10 second procedure (instructions are in the Robofocus manual).
Just after I finished the Robofocus installation, I went on a dark sky trip to Hole In The Wall Campground in the Mojave National Preserve in southern California. I had to fight 30-60mph winds each night I was there, so I didn’t get much from my imaging. However, the wind was calm for long enough for me to try out a couple focus techniques.

I started out using the Robofocus for manually controlled focus (via the hand controller and ASCOM POTH) with Nebulosity’s Fine Focus mode. I was really happy with that until I tried FocusMax with MaximDL. I only have a demo of Maxim, but the capability that FocusMax brings is amazing.
For FocusMax/Maxim, I roughly followed this tutorial:
http://www.flemingastrophotography.com/focusmax.html
So far, the only difference I’ve noticed is that with the ED127’s Crayford focuser it’s possible to bump the extension tube and make it slide in the focuser without the Robofocus rotating. I also noticed a very slight amount of creep over my 4 day dark sky trip. Instead of building a 12+ V-curve model as described in the link above, I just did a few before my final focus. It still worked remarkably (shockingly) well.
With FocusMax & Maxim, my focusing procedure is:
1) Slew the scope to an appropriate part of the sky & loosen focuser tension screws (my focuser has 3)
2) Connect the Robofocus to ASCOM POTH
3) Open Maxim (it auto-connects to POTH…didn’t want to connect directly to the Robofocus for some reason)
4) Open FocusMax & build a V-curve
5) Go inside & drink hot chocolate for 5 minutes
6) Hit the focus button in FocusMax (2nd step of V-curve focusing)
7) Tighten the focuser tension screws
8) Take perfectly focused images
I haven’t tried FocusMax with CCDSoft, but I plan to soon. CCDSoft was included with my SBIG camera and it reportedly works well with FocusMax too. For now, I’m taking my light frames using PHD & Nebulosity. I plan on trying Sequence Generator Pro soon as an alternate to Nebulosity (SGP has plate solving & its own focus routine).

- SBIG STF-8300C For Sale - SOLD! July 15, 2025
- The Rosette Nebula - NGC 2237, 2238, 2239 & 2244 March 18, 2025
- 116 Hour Horsehead and Flame Nebulae Mosaic February 6, 2025
- Fish Head Nebula - IC1795 January 12, 2025
- Science Lesson! Cygnus Wall in NGC7000 January 7, 2025
One Pingback
Explore Scientific ED127 Robofocus Installation – Part 1 | Astronomy Nightly