Dark Sky Astrophotography Camping 101 – Checklist, Guide & More
One of the most rewarding and learning-filled experiences as an amateur astronomer & astrophotographer is a dark sky trip. They can also be the most frustrating way to spend time alone in the middle of nowhere. If you just jump in the car & go, you’re trip will likely be horrible. Pulling off a great dark sky trip requires some planning. Plan on taking some serious time getting ready for your trip – time you spend at home will pay huge dividends in the field.
This guide is aimed at getting you in the right frame of mind to get ready for your next dark sky trip. This isn’t an all-encompassing guide. You will likely think of other things that need to be done before your trip. If so, leave a comment so that the rest of us can learn from you too.
Check Your Gear
Imagine setting up your telescope after 5 hours of driving to your new favorite dark sky spot. You unpack your telescope and find that your snazzy go-to mount’s hand controller is broken. You don’t have cell coverage, the nearest telescope shop is 7 hours away and you only have two nights worth of vacation away from work. Your trip is ruined.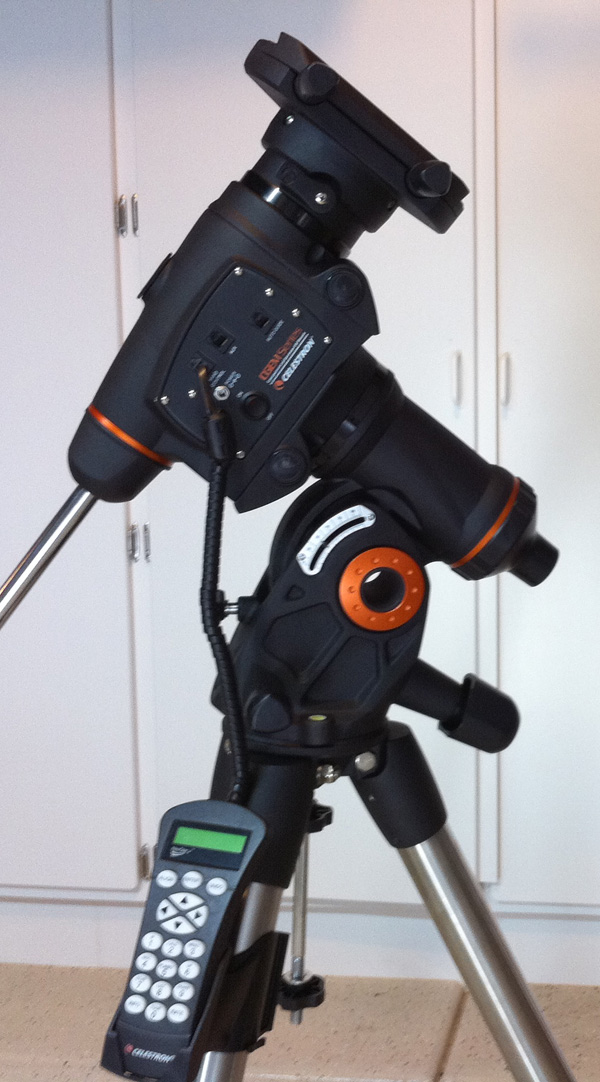
One of the quickest ways to ruin your trip is to have a critical piece of astronomy gear that isn’t working correctly. The best way I’ve found to make sure everything is in good shape for your trip is to have a full-up dry run…in your back yard. City lights won’t get in the way of you aligning your scope, autoguiding, and taking some long exposure shots of some bright stars. Plan a night where you get all of your gear together and run through every single thing you want to do in the field. I do this before every trip and it’s saved my bacon more than once.
Some of the things I check in my gear dry run are:
- Tripod leg operation – do they adjust properly? Your dark sky site won’t be flat, your tripod legs need to work.
- Mount attachment, alignment adjustments, level bubbles
- Telescope(s) attachments, dovetail, mounts, etc.
- Telescope(s) – make sure the lenses are clean, focusers work, and you have all their parts.
- Eyepieces
- Power tank, batteries, power cables
- Camera mounts, cables, power adapters, and memory cards. I recommend an A/C power adapter for your camera. Taking 5+ minute exposures can eat batteries in no time.
- Camera sensor – make sure it’s free of dust. Take it in to a camera shop to have it cleaned if needed.
- Autoguider mount & cables
- Laptop astronomy software. I use a laptop to autoguide and take images, so all that needs to work. Update the laptop with the latest operating system & software updates. Make sure things work AFTER all the updates are done. Download every driver, manual or tutorial that you or someone you know might even think about needing. It’s also a good idea to turn your wireless network card off, because you won’t have any internet out where it’s dark.
- Laptop hard drive space. Photography can generate lots of files. I make sure I have at least 50GB of free hard drive space to make sure I don’t have any problems. You’ll have to adjust that hard drive requirement based on your equipment and how much you plan on shooting.
- Backup external hard drive. I use one to back up my photos every day. I keep it separate from the laptop during the trip to make sure if one breaks (or is stolen, etc.), the other is probably still ok. I use this drive and it works great for me.
- Power. Depending on your equipment, this may be as simple as plugging things into your car or as complex as a generator, inverters, solar cells or more. Make sure it all works.
- Other stuff: folding table, chairs, flashlights, camping lantern, etc.
Practice
You absolutely do not want to waste time once you finally get out to pure darkness. You need to know how to do every step of your astronomy and astrophotography process before you go. Please don’t take that as “you can’t learn in the field.” Dark skies are great teachers. However, the more you know how to do before you get there, the more ready you’ll be to take advantage of the darkness.
 If you’re into astrophotography (or think you might be), you need to learn how to accurately polar align your telescope. To take long exposure photos, the alignment of your telescope relative to the rotating Earth is absolutely critical. Drift alignment is generally regarded as the most popular way to align your mount with the heavens.
There are lots of drift alignment tutorials online. A quick Google search of “Drift Alignment tutorial” will give you piles of results. Your telescope’s manual even has one. One of the best drift alignment tutorials I’ve seen it’s from Pete’s Astrophotography. There are animations for each step AND an alignment simulator for you to practice on before you even leave your desk. Here’s Pete’s polar alignment tutorial (EDIT: link removed because it’s dead).
Another major step in getting good astronomy photos is actually making your camera take photos. Today’s digital SLRs (DSLRs) are incredibly powerful devices. Today’s dedicated astronomy CCD cameras are technical marvels. Neither type of device works without your help. Before you leave for your trip, you should know how to make your camera take pictures. To practice this, mount your camera to your telescope (using a T-mount or your favorite adapter), connect the power & computer cables, cover your telescope’s business end and take a series of 5 minute exposures. To get great photos, they need to be in focus. Take your time nailing the focus!
If you’re planning on taking any long exposure photos (longer than about 30 seconds), make sure you have the capability to guide your setup. Go-to telescope mounts slew at the same rate as the stars fly through the sky, but to take great images you need to finely adjust your telescope’s tracking while you’re taking those long exposure images. Autoguiding is my preferred method to make this happen, but you can manually guide your scope if you don’t mind being hunched over it all night.
In a nutshell, autoguiding is a system that can capture camera images repeatedly, analyzing those images for drift, and command your telescope back to where it’s supposed to be pointing. For autoguiding, I use an Orion Starshoot Autoguider connected to my laptop and PHD Guiding software (the software is free from Stark Labs). Whatever you decide on, you’ll need some sort of camera that can connect to your computer and an open optical path in your telescope, and a way to connect your laptop to your telescope.
You’ll also want to do some sort of post-processing in the field. You don’t have to bring the capability to build your final museum-quality images. However, being able to stack photos together, subtract out darks, and remove some noise will go a long way towards giving you a good feeling after the first night that you’re on the right track. Besides, the people in the camp site next to you will probably come visit to see what your telescope is all about. It’s great to have something to show them.
Nebulosity is my current software of choice for image capture and initial post-processing. It’s available from Stark Labs for the Mac or PC and is very reasonably priced for how powerful it is. Honestly, besides Nebulosity, not much post-processing is usually required. I typically handle the final noise reduction and cropping in Photoshop, but I do everything else in Nebulosity.
Buy Spares
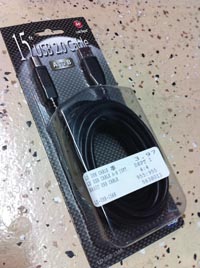 On a dark sky trip to Death Valley this winter, I was fumbling around the first night and accidentally stepped on a USB cable that had fallen onto the ground. I broke the connector on one end of it in the process. Unfortunately, that was the cable that connected my laptop to my autoguiding camera. Without that $5 cable, I couldn’t properly track stars during long exposure photography. Luckily, I had a spare tucked away in my bin-of-random-astro-goodies. If I didn’t have a spare, my trip would have been wasted because of a $5 part.
Bring spares of:
- USB cables
- Power inverters
- Batteries (GPS, cameras, flashlights, etc.)
- Flashlights
- Laptops ($$)
- Cameras ($$$)
- Brainstorm other spares for your setup
Pick a Place
Almost by definition of a dark sky site, you’re out in the middle of nowhere. Find someplace dark. Unless you have friends or a local astronomy group to ask, the best way I know to find dark skies is to use the Clear Sky Chart. I recommend entering your home town, clicking on it (or something close by) in the search results page, then click on the 120 mile list under “Other Charts.” From there, you should see a list of sites like this. Browse through the sites and note their light pollution. The darker the color in the light pollution column, the darker the site. You can cross check this with the Light Pollution Map to find a few possible places to go (the link to this map is on each individual sky chart page underneath the black sky chart with all the colored squares on it). After that, do some Googling to learn about each site.
Compare each site’s light pollution to your back yard’s. You need to consider the pain of getting to the dark site compared to the gain of the skies there.
Some things to think about when you’re looking for a site:
- Is power available? At many places it won’t be. I usually try to find a place that doesn’t have power available – they usually end up being darker.
- Are there places to stay near by? This could be hotels or camp sites, but you’ll need some place to sleep.
- Are water & toilets available?
- Other stuff: Food, gasoline, access (i.e. is a 4×4 required to get there?)
- Other other stuff: What else is there to do there? Some people are happy to sit by there telescope & in their tent. Others aren’t. If your non-astronomer significant other is joining you, don’t screw this part up.
Pick Targets
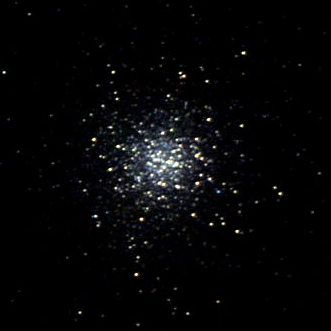 You may already have favorite sky objects picked out for the time of year you’re planning your trip. Whether or not you do, it’s important to pick astrophotography targets that make sense. If it’s your first trip, I recommend a bright globular cluster like Messier 13 (seen in photo to the right). Globular clusters aren’t the most jaw dropping thing in the sky, but if you pick a good one the stars are easy to make out. This is great for things like focusing practice and checking how good your alignment and guiding are. A great picture of a globular cluster is still worth showing off to your friends & family. Some won’t care no matter what you show them, some will say “Wow, you took that? What is that!?”
If you are certain you can take a good picture of a globular cluster, go for something with some nebulosity in it. Messier 42, the Orion Nebula, is a great choice for a first attempt at a nebula. It’s bright enough that you can see quite a bit of nebulosity in even unguided 30 second exposures and has bright stars you can autoguide on right in the middle of the nebula. If you do a good polar alignment, a series of 30 second unguided exposures of M42 can make for a “wow” photo. A favorite summer target of mine is the Messier 8/Messier 20 complex shown below.
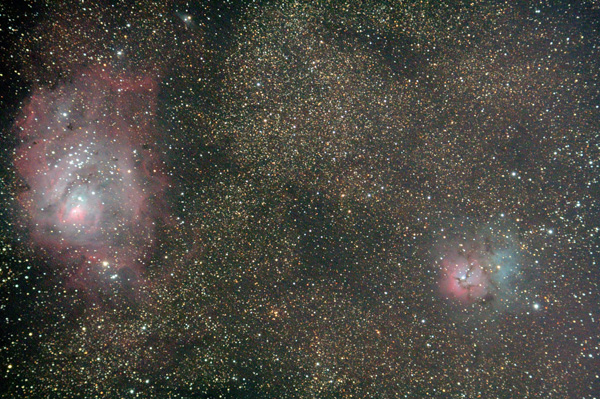
Pick a target that’s within your reach based on your equipment and skill level. Set lofty goals (“I’m going to shoot a great photo of M20”), but if you set goals that are impossible (“I’m going to image a planet in another galaxy”) you won’t be happy.
Don’t overestimate how many photos you’ll be able to take. If you want to take a series of 20 photos at 5 minutes each of a deep sky object, that will easily take two hours of imaging once you include all the image downloading, camera rest time, and other adjustments. You can probably plan on 30 minutes to an hour of focusing and image framing before you even start that series. I typically plan on two or three objects a night. Depending on the object, I may shoot the same thing for multiple nights. It’s good to have backups in case clouds cover your primary target or you didn’t realize that a mountain will be in the way. Take your time for each target and get the images you set out to get.
Plan Your Activities
I typically plan to stay awake all night while I’m imaging. With my current skill & equipment, the longest nap I ever feel like taking at night is about an hour. As you can imagine, that will make you tired the next day. I try to get to sleep just before the sun rises. If you’re trying to sleep during the day and you are at a campsite with other people, earplugs are your friend.
You’ll probably have some time to do something other than astronomy while you’re there. It’s worth researching the local area to find a few things to do. Since you’ll probably be somewhere in the wild, hiking is probably something you could do. Day photography might be worth your time too.
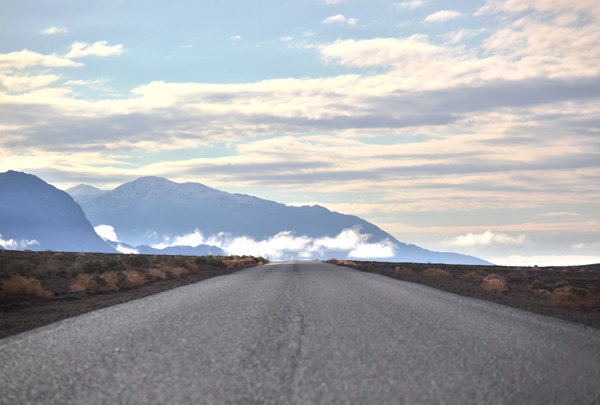
By the end of your trip, you’ll be dead tired. Be safe when getting back to civilization. I always plan on being well rested before driving home. It’s tempting to load up your car as soon as the sun comes up on your last morning, but please take your time & get home safely.
Check the Weather
You’re taking a trip to the middle of nowhere to view and take pictures of the stars. You can’t see them if it’s cloudy. Your success can also be hampered by winds or a full moon covering your favorite nebula. In general, I look for clear skies with stable air masses and time around the new moon. Here are some weather-related web sites I check out when planning a trip:
- Weather Channel
- National Weather Service
- Clear Sky Charts
- Sunrise, sunset, moonrise, moonset and moon illumination from the US Naval Observatory
Gather Your Stuff
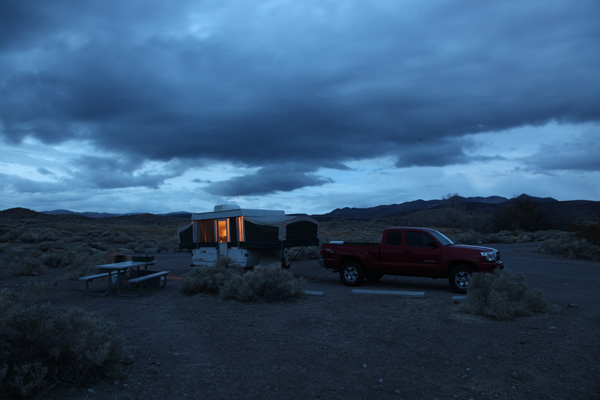
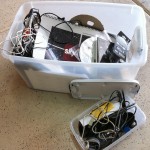 Hopefully your collection of astronomy stuff is better organized than mine (yup, that’s my astro-goodie bin on the right). However you manage your equipment and accessories, make sure you have everything you need before you load your car for the trip. I don’t make dark sky trips often enough to remember everything off the top of my head, so I made a checklist & saved it on my computer. You can grab a copy of my checklist here. Feel free to modify that checklist or create a new one on your own. When you’re packing your car, just remember that you’ll be 1000 miles from nowhere. Bring what you need to make your trip a success.
GO!
It’s finally time. You’ve checked your gear. You’ve practiced everything you need to do. You’ve bought spare parts. You’ve found the perfect dark sky site. You’ve found your astrophotography targets. You’ve checked the weather. You’ve even planned a few other things to do while you’re enjoying some peace and quiet.
Double check everything. Triple check everything. Now go!
Dark skies,
-Bryan
Please let me know what you think. Any other ideas? Stories you'd like to share? Do tell!
This is a great guide ! I’m playing on doing my first trip and this helps a lot ! i have always image from salt lake city and light pollution is quite bad.. can’t wait to see the real difference of a dark sky an no filter! thanks a lot for you guide!